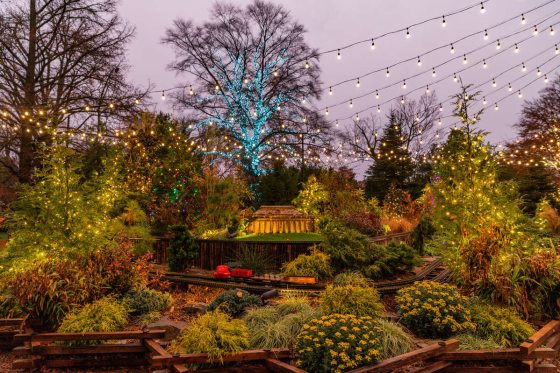
As one of Longwood’s volunteer photographers, I’ve had the pleasure of photographing A Longwood Christmas for four years now. There’s undoubtedly a lot to capture when photographing Christmas at Longwood … and with Longwood’s stunning outdoor display of more than 500,000 lights in a variety of colors, shapes, and sizes, there are plenty of opportunities to take beautiful photos that capture the brightness and cheer of those lights. Whether you’re using a smartphone or a DSLR/camera, follow along as I share some tips on how to take fantastic photos of Christmas lights during your Longwood visit.
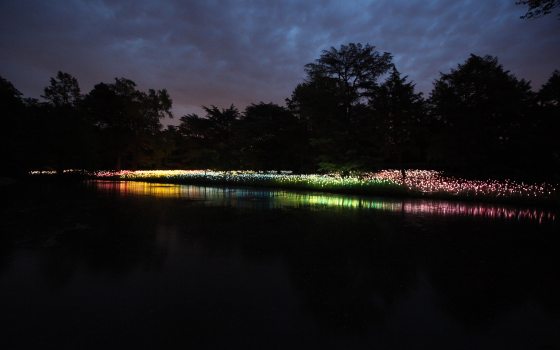
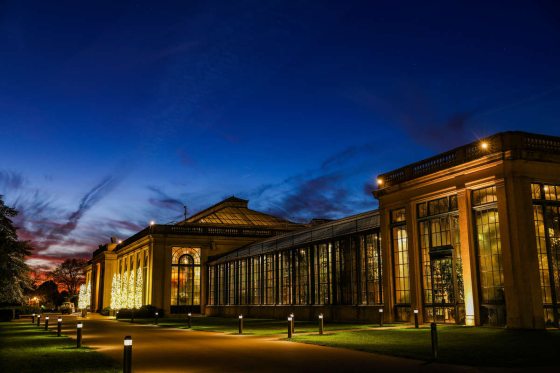
If you have your pick of equipment to use, a wide angle lens is best, or one with the lowest aperture possible. For example, I use a 24-70mm f/2.8 lens for most of my photos at Longwood. The best time to take photos of Christmas lights, using a smartphone or a camera, is at dusk. Dusk is the best time as it allows for some natural, ambient light without having a plain dark sky. The same general photography settings apply to shooting at both dusk and at night (except you’ll need a longer exposure at night), but capturing some of the sky before it’s completely dark is my personal favorite.
When using a smartphone to take photos of Christmas lights, the number one rule to follow is turning off your flash. When using flash, you run the risk of overexposing the photo and then you won’t be able to see the Christmas lights as the flash will wash everything out. It’s better to take a longer exposure with no flash so you can see the glow of the lights. Use night mode if your phone has this setting. It will be a long exposure, to be sure to stay still and lock your focus. When possible, move closer to your subject instead of zooming in with the phone’s zoom feature, as you tend to lose quality when zooming in. Keep in mind you can always crop your photo later.
When using a DSLR/camera to take photos of Christmas lights, the same number one rule applies: turn off your flash. Be sure to change your ISO to at least 300. In basic terms, ISO is a camera setting that brightens or darkens a photo. As you increase your ISO, your photos will grow brighter to help you capture images in darker environments. While some cameras handle high ISO well, with others you’ll notice a lot of “noise” or “grain” with a high ISO, so avoid going too high. In my opinion, going over ISO 1600 is going too high.

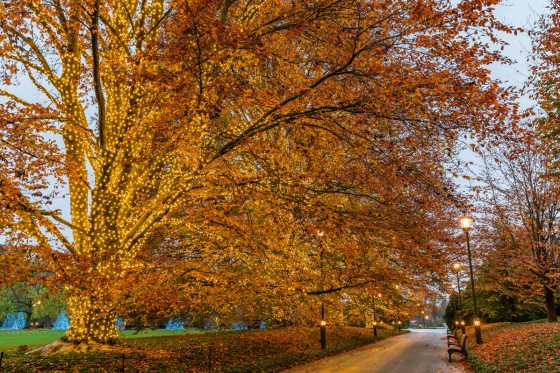
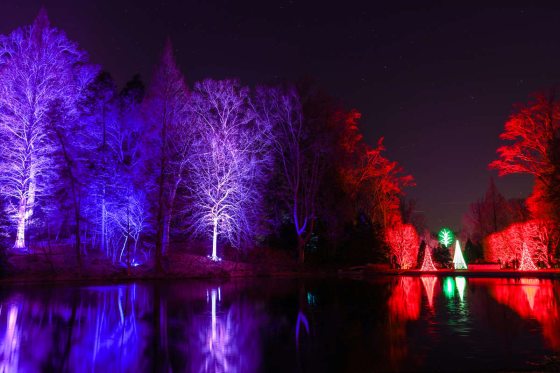
Aperture, or the opening in the lens through which light passes to enter the camera, is also a consideration when taking photos of Christmas lights. You can shrink or enlarge the size of the aperture to allow more or less light to reach your camera sensor, and aperture adds dimension to your photos by controlling depth of field. Smaller aperture lets in more light, but also makes your depth of field shallower. If you’re focusing on a single subject, such as one lit tree, make your aperture the lowest number possible. For side shots, start with an aperture between f/4 and f/8.
Staying steady is a cardinal rule of taking fantastic shots. When you’re unable to use a tripod, make sure you hold your breath and stand really still to reduce camera shake. Take several photos continuously … you’re more likely to get one without camera shake that way!
While autofocus is a convenient feature, it’s also a tricky one at night. With no ambient light, your autofocus will have trouble “seeing” and you’ll find that it will really struggle. You can usually hear when your camera is “hunting” for focus and when you press your shutter button it won’t actually take the photo. When outdoors switch to manual focus if you’re having trouble nailing your focus. When it comes to exposure, it’s better to slightly underexpose your photos than overexpose. With editing programs, especially if you shoot in RAW (or raw image format, which is a digital image file stored on your camera or smart phone memory card), you’re able to bring back more detail to a dark photo as opposed to a blown out photo.
When using a phone to shoot a photo that includes people and not just lights alone, your phone should automatically go into “night mode” … just make sure your subject stays still for a few seconds if you’re not using a flash. This is the only time I recommend using a flash, is when people are in the photo. There’s no need to use a flash for just photos of lights.
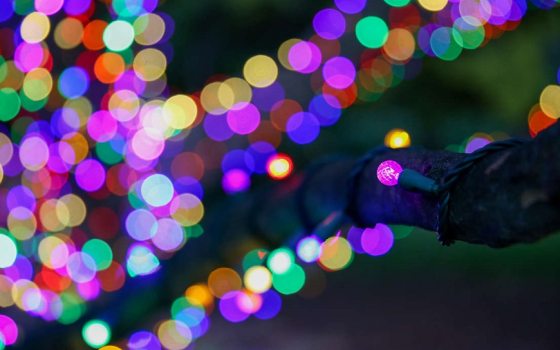
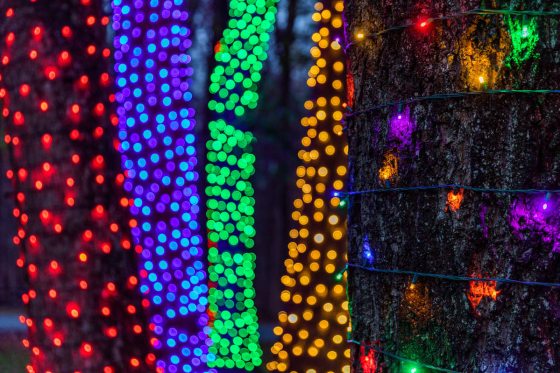
The most important tip is to simply have fun and enjoy the beautiful lights. Try your hand at something new … purposefully make your photo out of focus for a fun bokeh effect (bokeh meaning the blurred quality seen in in the out-of-focus portion of a photo taken with a narrow depth of field). Try a new angle … there are plenty to choose from at Longwood! If you’re using a DSLR, zoom in and out while taking a long exposure for some fun movement. The fun photography possibilities are endless during A Longwood Christmas.