It’s been nearly one year since we shared with you the initial steps in training one of our azalea standards into a bonsai and almost six months since we delved into the next steps, from further balancing the tree’s aesthetic and character to removing its wiring, that we took before the tree’s winter slumber. I’m excited to share that our azalea bonsai has reawakened, and in early March, just after shaking off the last yawns of its dormancy period, has found itself in a new home, thanks to the next step of the bonsai training process: repotting. One of the most exciting, yet nerve-wracking, steps in the process, repotting can perhaps be compared to open-heart surgery for our azalea bonsai … but it’s also a chance for our tree to shine in its new (yet temporary) home.
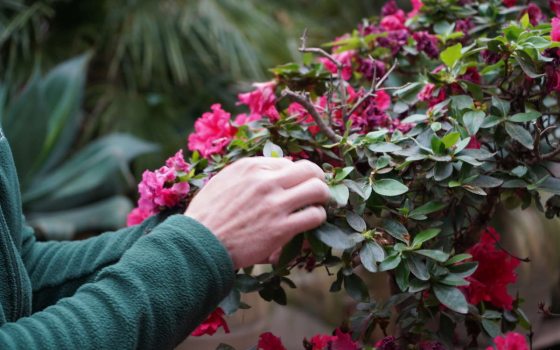
You may remember from our most recent blog post that just before the tree’s dormancy period started, I pruned and removed areas where I didn’t want growth to occur. That way, the tree could direct its energy to growing in areas intended for development, not in areas that may eventually be removed from the tree. Along those lines, I removed some overlapping and crossing branches to help the tree further develop our desired fan-like structure, as well as removed any wiring that was starting to bite into the wood.
Fast forward to now. The azalea fared well during its dormancy period and was just starting to develop new buds at the time of our repotting. While repotting can essentially be done at any time during the year, it’s ideal to repot just after new growth occurs, so I was excited to jump into that next step last month.
The tree experienced a bit of branch loss during dormancy, which can most likely be contributed to the fact that it’s been in its current size pot for about 20 years and its current soil for an estimated five to 10 years ... meaning I had not been able to see the tree’s root system prior to our early March repotting.
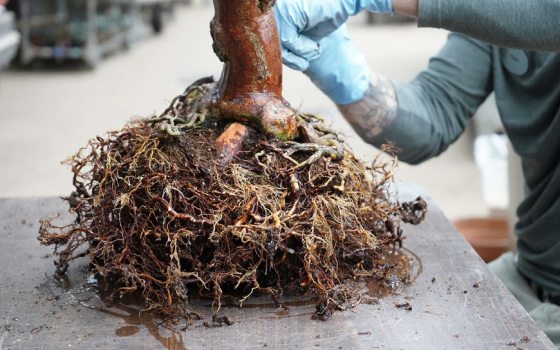
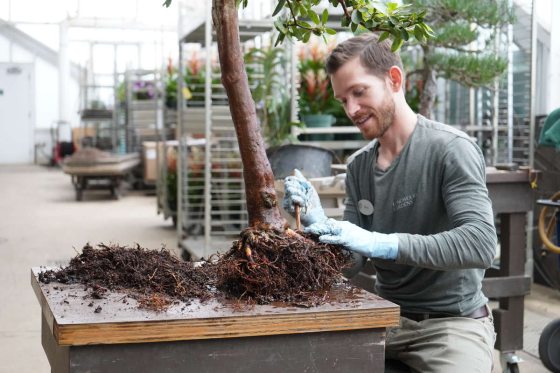
The goal for our early March repotting was to bare root the tree as much as possible and to get the tree into a pot measuring 12 inches in diameter, in contrast to the 16-inch pot in which it came to us. The first step in doing so was slowly removing the soil and exposing its nebari, or roots, to reveal its entire root system.

Working from the center of the tree out in order to create a nice root flare, I carefully divided its spreading root system using a chopstick made for bonsai, which is thicker and sturdier than a traditional dining chopstick. Using a chopstick to divide the roots takes longer than other bonsai tools, but it’s worth it—it’s gentler on the tree and gives me plenty of opportunity to observe the intricacies of the root system as I work. Patience is paramount when it comes to bonsai.

As I used the chopstick on the root system, I looked for any overlapping roots or signs of rot and removed those roots as needed. In bonsai, for both aesthetic and practical reasons, you never want roots to cross, as they could girdle the tree and compromise its longevity.
Using a concave cutter for a clean cut, I removed any roots that grouped back towards the trunk or any roots that were too thick or thin, similar to how we decided to remove branches earlier in the process.

Through it all, I made cutting decisions in order to put more strength and vigor on the roots growing on the outside, not the bottom, of the tree. By creating more of a flat bottom of the tree, we can maximize the bonsai’s new container as much as possible, letting the roots on the sides fill out more. It’s also important to have a flat bottom of the tree so water can easily flow into its root system and penetrate the tree, which can be difficult for a tree that lives in a container.

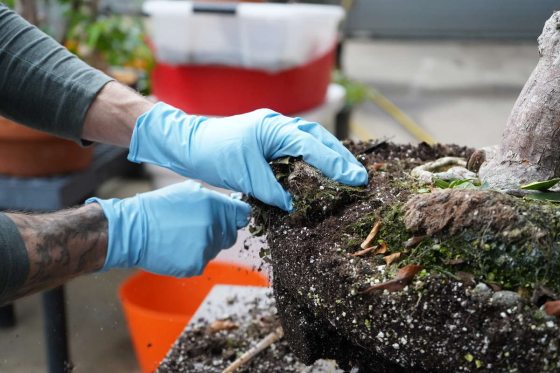
After removing the majority of the dense root ball, I washed away remaining soil using a gentle hose spray. The water also rinsed the tree free of old insecticides and fertilizer to give the tree a fresh start in its new home. During the entire two-hour repotting process, I washed the roots a number of times, starting with a gentle spray on up through a high-powered spray, to continue to loosen remaining soil and clear away any elements we don’t want remaining on the tree.

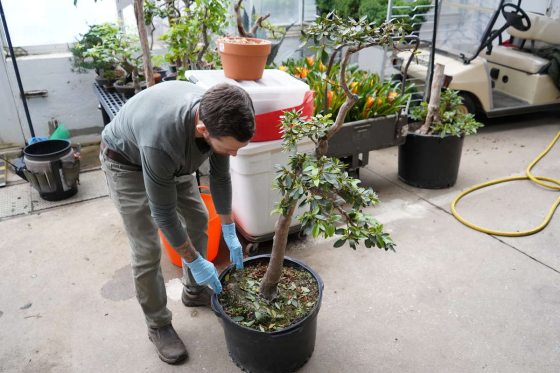
I had prepared the tree’s new container by covering its drainage hole with a screen and placing wire in the container. Once the tree was in its new container, I tied the wire around its root ball to keep it steady.

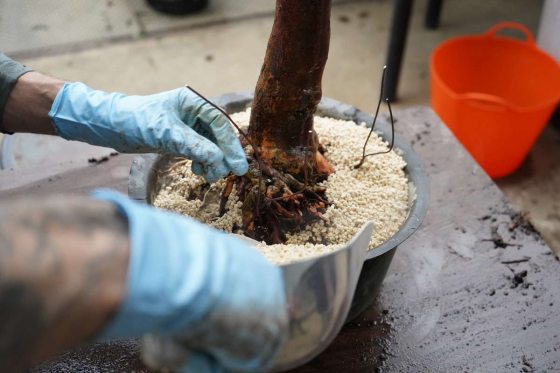
It appeared as if the media in which the tree arrived to us was a mixture of soil, moss, and perlite. As part of the repotting process, we decided to place the tree in kamuna soil, an organic volcanic material harvested from Japan. With an acidic pH of 4.5, kamuna is perfect for azaleas, as the azalea’s fine root system will be able to break down the kamuna particles.

After placing the tree on the mound, I tied the wire around its root ball. I did not place the tree at its perfect angle just yet, but at an angle to help it get established in its new home. We can revisit the angle as time goes on.

Next, I used a chopstick to help the kamuna settle in around the tree and remove any air pockets, which could lead to rot.
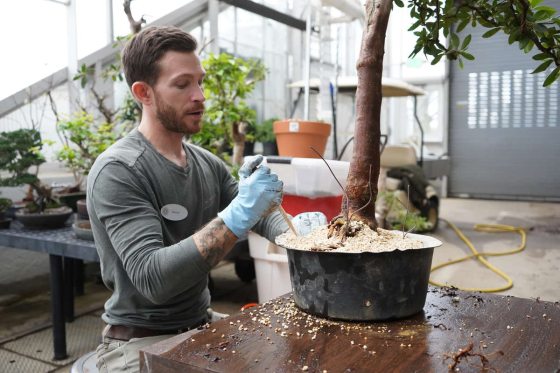
I then watered the tree until the water ran clear from the bottom, which signaled the soil was saturated and that residual dust from the volcanic kamuna was gone.
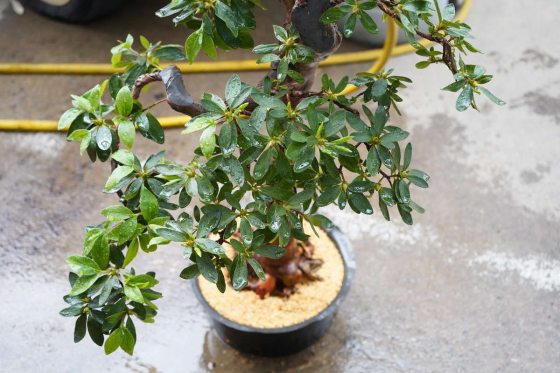
Now that the tree is in its new container, we’re hoping the smaller size of the container will encourage smaller internode growth in the tree over the next several years. We’ll look to repot again in about two years. Azaleas are repotted more frequently than most bonsai because of their fine root system. If I see that the tree experiences a loss in vigor before those two years pass, we’ll consider repotting sooner in order to encourage optimal drainage and air circulation.
We’ll continue to water the tree daily to help establish its root system and will go back to refining its branches. As time goes by, we’ll continue to assess the azalea’s growth and development. I’ll keep an eye on its new growth and decide if we let it flower or remove its flowers right away this spring, which would allow it to focus more energy on vegetative growth. I’ll also continue to consider further restyling of the tree.
Either way, our bonsai journey continues. We’ll refine, unwire, and wire again in our effort to get the azalea to a clip-and-grow state, meaning we’ll move away from needing to use wire as training progresses. We’ll continue to be patient with its growth. And we’ll keep you updated as we move forward.