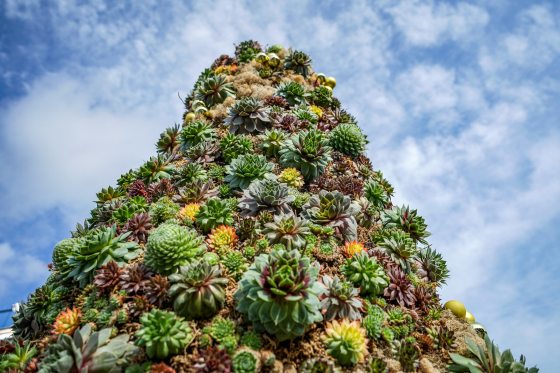
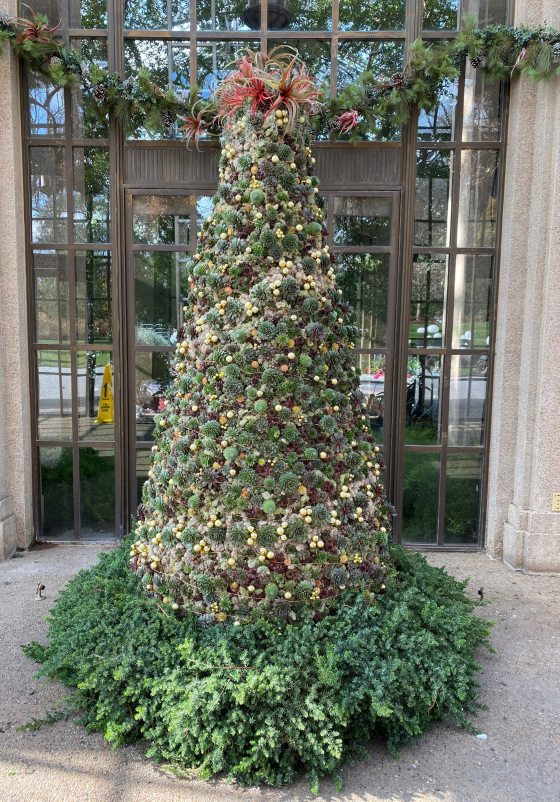
One of the many elements of botanical artistry on display during this year’s A Longwood Christmas greets you just as you enter the Conservatory—an 8-foot-tall, 4-foot-wide living tree swathed in 1,800 gorgeous hardy Sempervivum, or hens-and-chicks. Dotted in festive hues of red and green and featuring a garland of succulents, reindeer moss, and ornaments, this textural tree is an expression of the beauty and diversity of succulents, showcasing varieties from Sempervivum ‘Pacific Blue Ice’ to S. ‘Coral Red’ to S. ‘Chocolate Kiss’. As a senior grower here at Longwood, I had the pleasure of leading the creation of this tree … and now I have the pleasure of sharing with you how you can craft your own succulent tree to enjoy and display at home, any time of year.
While our 8-foot-tall, 4-foot-wide tree is most likely larger than what you may want to create for home, the supplies we used, as well as the process we followed, is the same no matter what size tree you’re creating. First things first, our supplies included a frame. Ours is a metal form made by our extremely talented in-house fabricators, placed on a wooden base that could be moved from the greenhouse to its eventual display location in the Conservatory’s East Entry. For home use, I’d recommend using tomato cages, which are easy to find and come in a variety of sizes. We also used chicken wire to cover our frame; the same should be done for home use. You’ll also need zip ties to attach the chicken wire to the frame.

Longwood Senior Grower Kerry Zwack inspects the Sempervivum tree in this mid-October shot. Photo by Carol Gross.
Other supplies that we used (and you would use, too!) include bags of packing peanuts (we used about three trash bags’ full for our tree), sphagnum moss, and gloves for handling the sphagnum moss as you shouldn’t touch it with your bare hands as a bacterium could be present in the moss. We also gathered stools and ladders, wire that we cut and bent to help secure the succulents into the tree, black string, scissors, fern pins to help secure any smaller succulents, reindeer moss and Spanish-moss to help fill in any gaps and cover the sphagnum moss, ornament balls, and lights. Both reindeer moss and Spanish- moss can be found at garden centers as well as craft stores.
A different view of our in-process living tree, when it was living outside of our greenhouse in October. Photo by Carol Gross.
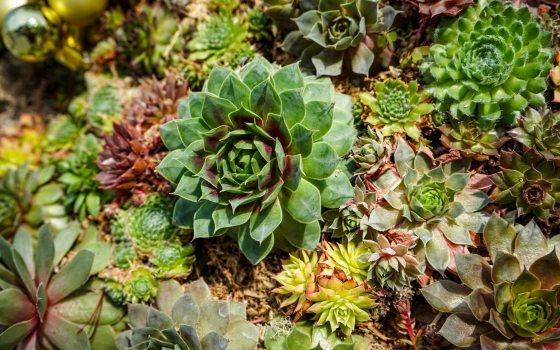
Now for the good part—succulent supplies! For our tree, we used a total of 1,800 succulents in a mixture of small and large sizes, and had a couple hundred extra on hand in case any needed to be replaced before display. We selected many succulents with more of a reddish hue to help warm up the tree. All of the succulents we used are hardy, meaning they can withstand the cold air that enters the East Entry as doors are opened. In fact, the colors of the succulents become more vibrant and redder as the air gets colder! As a rule of thumb though, hardy succulents should be brought indoors once the temperature hits freezing. For the tree, we used a total 10 varieties of smaller succulents and six of larger succulents, from Sempervivum ‘Gold Nugget’ which features vibrant red to gold tones, to S. ‘Silverine’ with its rosettes of silver and green, to the green-with-splashes-of-dark-red S. ‘Killer’. All of the succulents on our tree can be sourced for yours from garden centers.
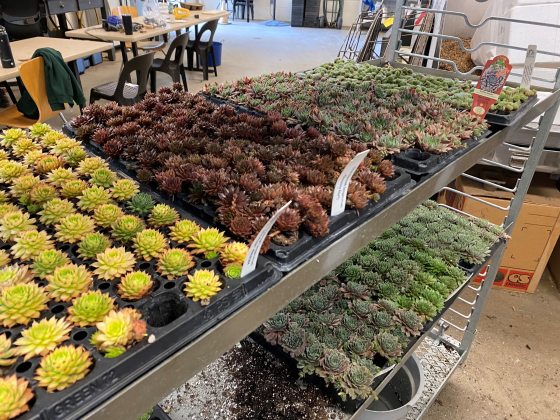
Our succulents await the tree form! Pictured here are S. ‘Gold Nugget’, S. ‘Chocolate Kiss’, and S. ‘Pacific Blue Ice’. Photo by Kerry Zwack.
Once we had all of our supplies, it was time to get to work!
First, we checked our chicken wire to make sure it was in good condition and repaired any broken areas with black string. Next, we filled the frame by inserting the bags of packing peanuts between the chicken wire. Our frames have two layers to them, which allows us to put the bags of packing peanuts, moss, and plants between the two layers. If making a form at home, you’ll need two tomato cages; the smaller tomato cage will go inside the larger one. Using our string, we tied one layer of packing peanut bags around the chicken wire, leaving about 2 inches of room between the peanut bags and the string to accommodate the sphagnum moss.
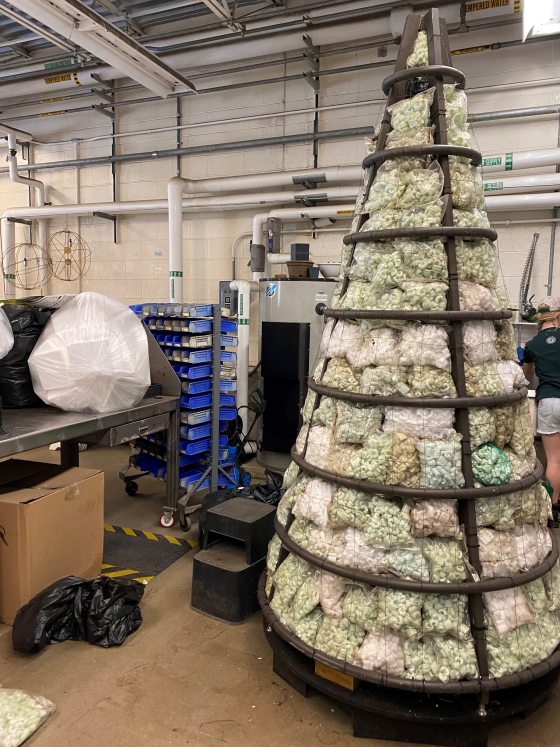
Our 8-foot-tall frame, filled with packing peanuts and awaiting plant material! Photo by Kerry Zwack.
Next—and with gloves on—we filled the space between the peanut bags and the string with the sphagnum moss. Be sure to start from the bottom and work to the top. When you get the top, wrap the sphagnum moss with black string since there won’t be as much support at the top of the tree.
At this point, if you choose to use Christmas lights (not fairy lights), start wrapping them at the top and work your way down; you want the plug to be at the bottom of the tree. If you are making a garland, start at the top and wrap the moss with a piece of twine to map out your desired garland shape. Be sure to wrap around the tree enough times to ensure the garland is visible from all sides of the tree and has a good spiral to it. After deciding on the design for the garland, you’ll place those plants in first, starting from the top and working your way down to the bottom. A tip when removing succulents from their trays or pots: make sure not to pull on the tops wince that could pull just the plant out without its roots. Instead, use a tool to help dislodge the root ball and/or squeeze the bottom of the tray.
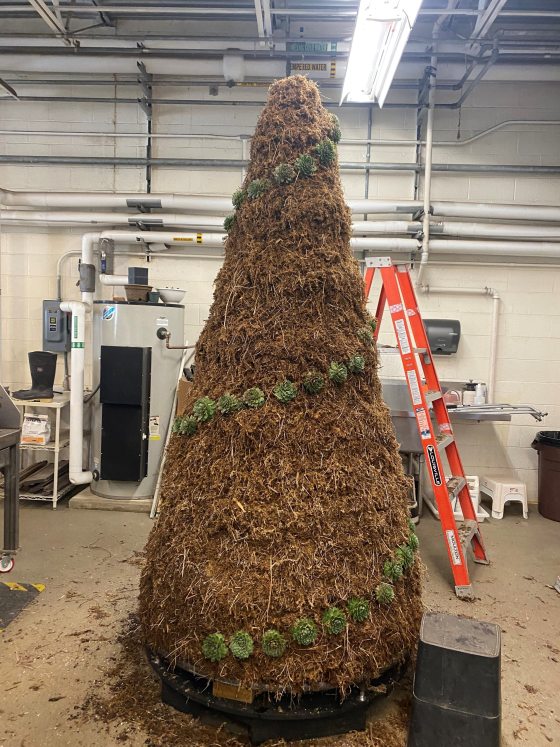
Our tree in process, covered in sphagnum moss and the beginnings of our garland. Photo by Kerry Zwack.
When placing your succulents, the plants should be moist but not overly wet or dry since you don’t really want to water your succulent tree at all. If it does end up needing to be watered, make sure you water on a sunny day and early enough in the morning so it has time to dry out. Also, don’t dress the moss too much. You’ll know if a succulent needs to be watered if it feels soft or gives when you touch it. If you do need to water it, don’t soak it—just spray over the form.
To place a plant, make a crevice in the moss big enough to fit the root ball of the succulent. Then, remove most or all soil from the potted succulent, insert the plant into the sphagnum moss, and tuck the moss back around the plant as much as possible. Secure the plant in with pins and/or cut and bent wire at an upwards angle at the bottom of the plant so it goes through the root ball, the moss, and the packing peanuts.
For the larger succulents, you ideally want to get the wire through the root ball and moss and puncture the packing peanuts enough to really know the plant is secure. Photo by Carol Gross.
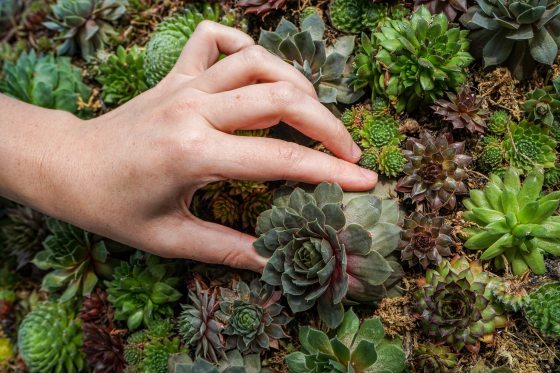
If you’re working with both larger and smaller succulents, start by placing the larger ones first and be prepared to use more wire or pins on the larger succulents since they’re heavier. To make sure the succulents are randomly spread out, place one variety at a time. Fill in gaps between larger plants with smaller succulents and work on one section at a time. A tip for creating forms at home: larger succulents are typically easier to work with and secure.
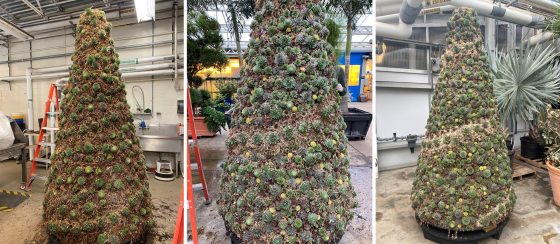
Our tree begins to take shape as we fill in with succulents and moss. Photo by Kerry Zwack.
After all of your succulents are placed and secured, add Spanish-moss and/or reindeer moss to fill in any gaps where you can see the sphagnum moss. If you’re using fairy lights (not Christmas lights), now is the time to start wrapping them at the top of the tree while working your way down and tucking the lights in between the plants. You’ll want the plug to be at the bottom of the tree.
If you’d like to add a tree topper, a large succulent works great! You can add that topper at the end of the process. For our topper, we used Tillandsia and Spanish-moss. We placed the topper and lights on our tree about a week before it went on display, starting the lights at the top so the plug would end up near the bottom. If you use lights, be sure to be careful if watering; we have our plugs in a waterproof case to keep them from getting wet. If you’d like to use ornaments, add them at the end as well. We integrated ornaments in our garland to give it some sparkle.

Ornaments in small groups of three tied to a small stake look fantastic and are easy to push into the moss. Photo by Carol Gross.
Here at Longwood, we started working on the tree in late September into the second week of October, with two of us working about five full days to finish it. For a smaller tree form for home, figure on a few hours of work … followed by much enjoyment and minimal maintenance! Again, you won’t need to water often as long as the succulents are moist when they’re placed on the form. Plus, Sempervivum is hardy, meaning it can withstand cold weather, so feel free to keep your creation outside for display. I’d recommend not letting it get snowed on, and giving it an indoor reprieve once temperatures are consistently below freezing, though.
Our completed tree makes it way to the East Conservatory entrance during A Longwood Christmas installation. Photo by Kerry Zwack.
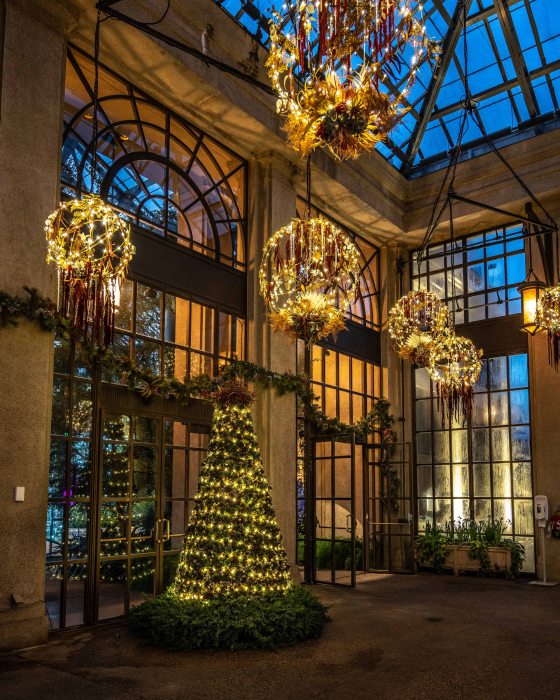
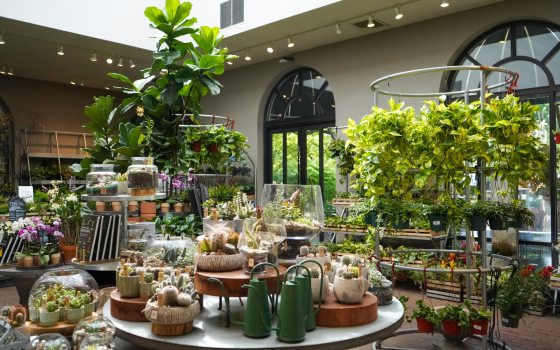
Our Sempervivum living tree, on display in the East Conservatory entrance, amid gold metal orbs embellished with hanging Amaranthus and other preserved botanicals. Photo by Eileen Tercha.
We had such a blast creating our Sempervivum living tree … and we wish you the best of luck creating your own at home!