a canvas of a painted yellow lily and paint supplies placed on a patch of grass

Getting Started with Field Sketching

By Natalya Zahn, on

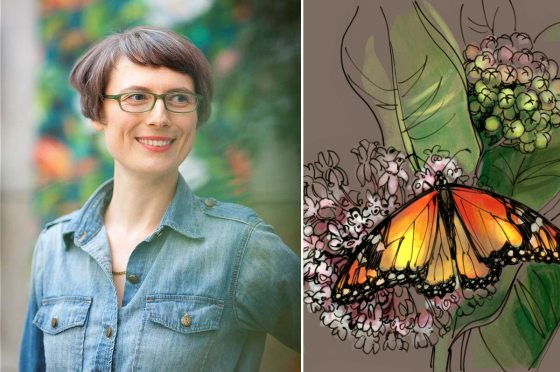
Editor’s Note: In 2014, Vermont-based illustrator Natalya Zahn created more than 50 remarkable pieces of art that now appear on interpretive signage throughout our Meadow Garden. Deeply inspired by science and nature, Natalya’s unique illustration style blends accuracy with playful artistic expression, and her technical versatility is rooted in her meticulous eye for detail. Follow along as Natalya shares her expert field sketching tips.

A love of nature and keen eye for observation are two of the most important skills to use when approaching nature illustration. The more interest you have, the more you’ll want to investigate, and drawing is a fantastic way to internalize what you see. If you’re really invested in your subjects, it shines through in the art. Watercolor is a wonderful medium for those new to painting, as one can achieve precise detail and control, or let the liquid pigment work its own magic in brilliant watery washes. 

Artist Natalya Zahn (photo by Heather McGrath), next to one of her illustrations found in the Meadow Garden.


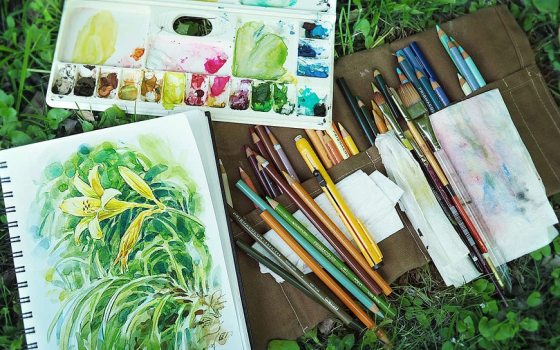
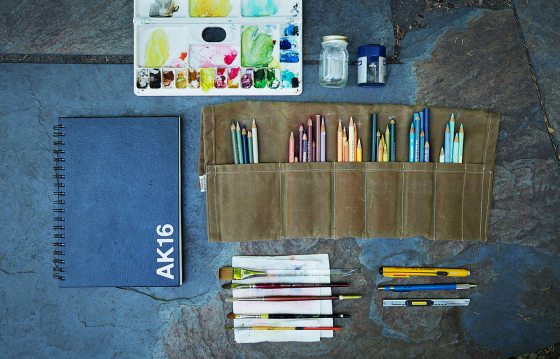
Step 1: Assemble your field sketching kit.  

Preferred art materials are highly individual but I typically pack with me what you see below.

My typical set includes from left to right, top to bottom: refillable travel watercolor/gouache palette; small jar of water with tight-fitting lid; self-contained pencil sharpener; sketchbook (this Stillman & Bim spiral-bound sketchbook has lovely medium-heavy weight paper that takes water media very well); brush/pencil roll filled with Prismacolor pencils; a collection of different brushes (3/4" flat, 2 filberts [rounded flat], and 2 fine round); mechanical eraser; mechanical graphite pencil; and a small snap-blade utility knife. I also always have a few sheets of paper towel with me for blotting and clean-up. Photo by Natalya Zahn.


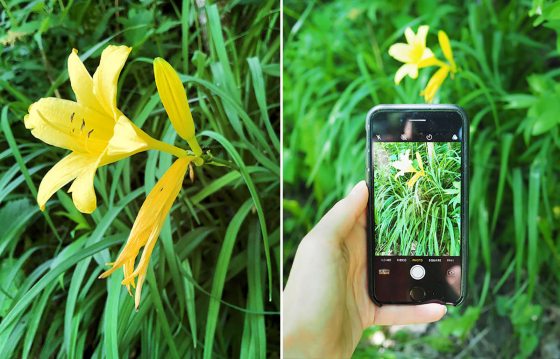
Step 2: Select your subject.

For this exercise, I chose a daylily. Move around the subject until you find a vantage point that offers an appealing composition. Consider snapping a pic of that view for later reference and plant identification.

This sunny yellow daylily serves a perfect subject. Photos by Natalya Zahn.


Step 3: Sketch your composition in pencil.

I use colored pencil because I can choose a hue within the palette I’m working with, and because it doesn’t smudge. Colored pencil also does not erase well, so my initial sketches tend to be very pale. To paint a plant in its environment I often start by blocking in the background. I begin with a medium value wash (in this case, green) and then build depth by layering in darker areas, defining foliage by filling in the negative space around it.

The daylily begins to take shape. Photos by Natalya Zahn.


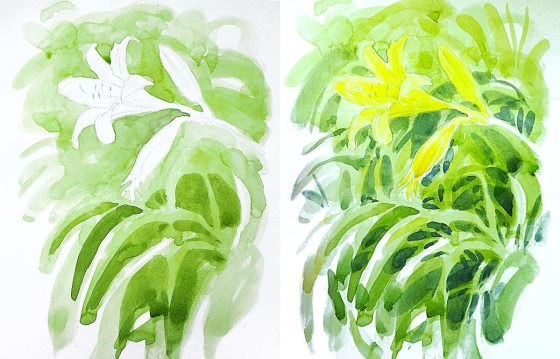
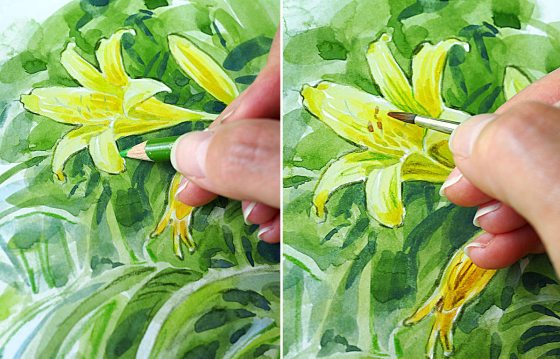
Step 4: Layer color washes.

I continue to work back and forth between the blossom and the background, layering color washes that heighten contrast and further define the edges of the lily.

Most of this work is done with a filbert (rounded flat) brush, which has the versatility to create both wide washed and fine lines depending on its orientation to the paper. Photos by Natalya Zahn.


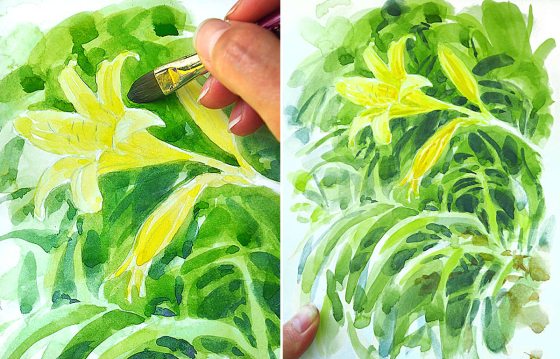
Step 5: Hone in on details.

At this point, I bring back my colored pencils, edging around important areas of contrast, and bringing out fine botanical features.

I use a small round brush for some of this work as well. Photos by Natalya Zahn. 


Step 6: Admire your work!

About an hour later I’m ready to call it done.

Remember, the finished sketch does not need to look 100 percent like the subject (every leaf and petal perfectly rendered) in order to capture the essence of the plant you are depicting. A little interpretive expression is the foundation of originality! Photos by Natalya Zahn.


Step 7: Clean up.

Make sure to rinse off your brushes before patting dry and packing them up and carry out used paper towels and any trash for appropriate disposal.

My final sketch, shown in its entirety. Image © Natalya Zahn, 2020. 


Looking for more inspiration? Listen along as Natalya shares insight into her style and more advice for creating nature illustrations of your own as part of our ongoing Longwood Voices series, or add your own flair with these Iris versicolor ‘Blue Flag’ and Liriodendron tulipifera (Tulip Tree) coloring sheets created by Natalya.

Related Articles

  • Beauty and Responsibility
    A perspective shot looking down a stone walkway in a formal garden. The path is flanked by low stone walls and topped with a series of wooden beams that support a dense ceiling of purple Wisteria. The far end of the path opens into a sunny courtyard with green manicured hedges.

    Beauty and Responsibility

    As we prepare to celebrate Native Species Day on May 16, in this post we address one of the most frequently asked questions we receive in our Gardens: why do we have plants that fall within the invasive category here at Longwood?

    By Kate Santos, on May 13, 2026
  • 1906: A Fresh Take and Recipe
    An overhead shot of a bowl of bright green soup with a dark oil drizzle. A long baguette slice sits on the edge, decorated with mussels, red chili rings, and delicate purple and blue floral garnishes. A corner of another plate with a small appetizer is visible in the top left.

    1906: A Fresh Take and Recipe

    We sat down with Executive Chef George Murkowicz to learn about his garden-to-table approach, how to savor the very latest at 1906, and how to make chilled nettles soup at home. 

    By Jourdan Cole, on May 6, 2026