It’s hard to believe that it’s been more than two years since we embarked on the process of training an azalea standard into a bonsai. Along the way, we’ve shared with you on the blog the initial steps in the process, including its first pruning and wiring; followed by the next steps of exploring and further refining the tree’s aesthetic and character; followed by repotting the bonsai (a delicate process I liken to open-heart surgery!), which happened well over a year ago, in April 2020. Many things have happened in our world—and in the world of our azalea bonsai—since that last update, and it’s now time to share what our old friend has been up to in the last year (including moving to a brand new home!) and how it has continued to beautifully evolve.
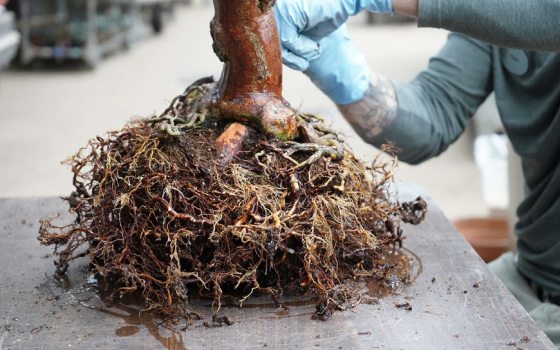
In our last update, we detailed repotting our azalea bonsai in March 2020. A crucial part of a bonsai training process, repotting is an exciting, yet nerve-wracking component … but our bonsai fared well and has since settled well into its current container. As part of the repotting process, I decided to not only place the tree in a new container, but also in new media: kanuma soil, an organic volcanic material harvested from Japan perfect for the azalea’s fine root system. By moving the tree to its new, smaller container, I hoped the smaller size of the container would encourage smaller internode (or the length between sets of buds on plant growth) growth in the tree over the next several years. Over the last year, there has been on overall reduction in the long extensions of growth. Comparing the growth to similar azaleas in the same developmental phase that I left in larger containers, the reduced growth is measurable.
In June 2020—three months after repotting the bonsai—I did notice some branch dieback on the tree, which can certainly happen after repotting or as a result of heavy root pruning or residual dieback from previous deadwood. Some knots were deteriorating at a quicker rate than others, so I decided to carve out those areas and sand the surface. It’s very important not to carve into live wood when carving out such areas. I slowly started from the dieback section to where the live wood began, outlining its overall shape with a sander, and then removing all bark from there up. You can tell which wood is dead by the color of the wood; if you go beyond the surface and find that the wood is green, that signals that the wood is living.
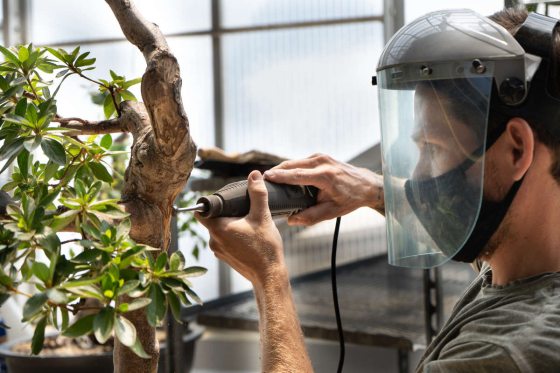
After making the outline with the sander, I used a saw to remove the dead wood around the outline. I also covered the bottom of the tree to keep debris out of the pot, as it’s hard to remove debris from coarse media like kanuma soil.
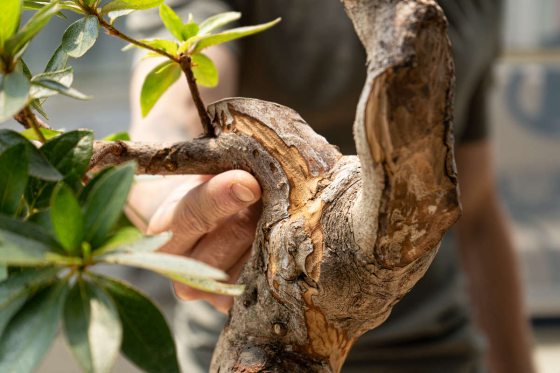
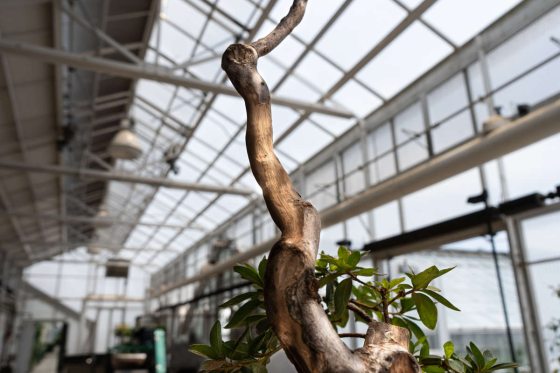
After the June 2020 sanding and sawing work, the bonsai sat largely untouched until July 2021. We did not prune or restyle the tree during that time, as it did not put on significant growth; the areas that did grow we left intact to build out the branch length for design purposes. However, it did undergo a big change in November 2020 when it moved to its new home in our new nursery production greenhouse, set within our existing nursery property on Route 1. With its 15,600-square-foot headhouse; 65,348-square-foot greenhouse; and 17 distinct growing zones to best accommodate our diverse palette of plants, the new facility provides a very high level of environmental control (and limitless possibilities and potential) for our plants and crops … including our azalea bonsai.
In July 2021, a little more than a year after sanding and sawing, I decided to reduce some of the bonsai’s limbs a bit, to further enhance the dieback area to become part of the design to complement the top of the tree. I also eliminated any extra branches; we want to avoid having three or more branches in a single location, as that can case a rapid thickening or swelling at that junction, which can then cause reverse taper, a condition in which the tree’s trunk goes from thin to thick working from the base of the tree upward. That would go against the thick to thin progression we are trying to achieve with the bonsai; thick to thin adds to its aged characteristics and is more visually appealing thanks to the smooth transition from the trunk to the finest branch tips.
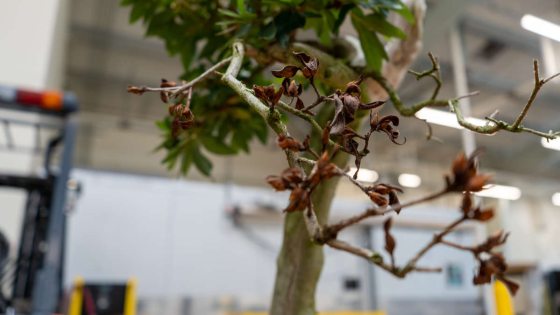
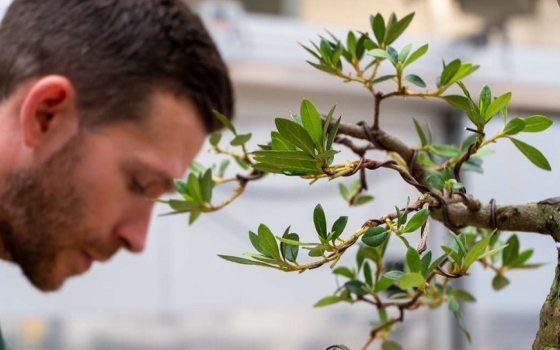
I took this trim as an opportunity to select and maintain those branches that best help fill the tree’s dramatic silhouette. Now that the above branch that lent a sense of movement to the tree has died, I’m taking the opportunity to reconsider what will serve as the front of the tree. To help me assess, I pruned back larger leaves to help open up the structure to better see the movement of the branches that remain. I also removed any leaves growing downward or inward, as we want to avoid that leaf aesthetic as we go.
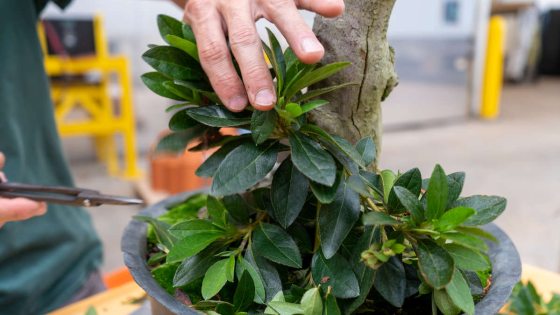
I’m considering focusing on the existing left branch as the defining branch of the tree, and I may end up eventually giving the tree a dramatic tilt (which would happen at the time of another repotting) to help grow that branch out and make for a more dynamic aesthetic given the tree’s very straight trunk. Angling the tree would also allow more light to reach this small lower branch, so we can grow it out and allow it to fill a larger area of the tree for a more dramatic silhouette. I also noted that the tree’s media still has healthy, intact particles and that the tree’s root mass has not yet taken over the size of the container, meaning it may be about two more years until we repot.
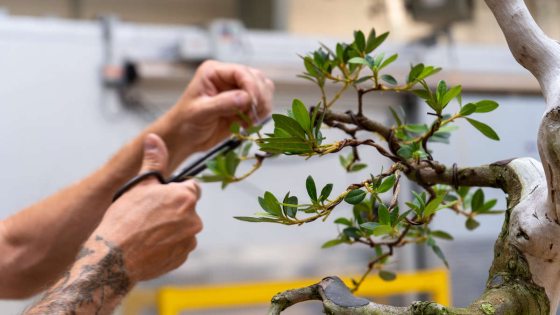
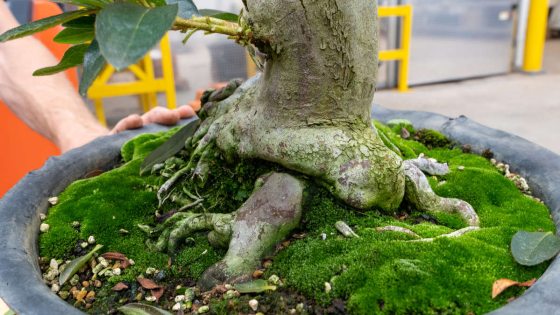
The fact that this tree has a long, straight trunk continues to serve as the biggest design challenge with this azalea, as I’d like to insinuate more movement with its structure. My goal is to mimic unseen forces on the tree to give it movement toward one side. However, there’s been a lot of lower branch growth over the last year, which I’ll keep for now as changing foliage and branches gives the opportunity to constantly revisualize and reassess the tree’s structure and movement. I’m also happy to see the deadwood on the side of the tree, which to me insinuates the story that it was a dense canopy at some point, and that the bottom growth looks as though light has found its way to the bottom, encouraging new growth. I like that story and composition for our tree.
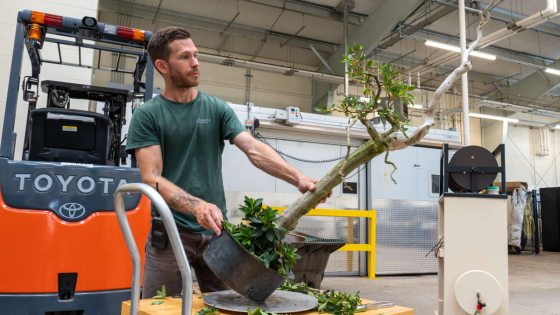
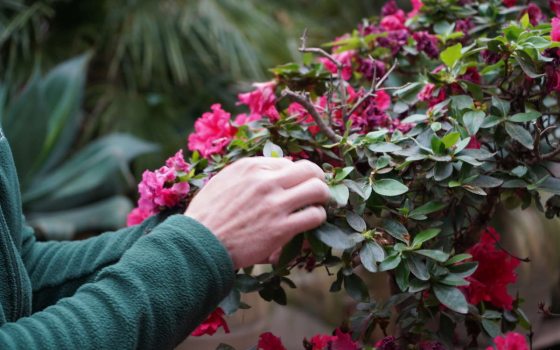
Over the next several months, I’ll keep a close eye on any signs of callus formation on the cracks that we started to establish during the June 2020 work. Callus formation means the branches are stable along those cracked areas. If needed, I’ll wrap those areas with a damp cloth to reduce the amount of deadwood drying along the way, which in turn reduces the amount of dieback of nearby living sections. I’ll let the tree grow on its own for a while, possibly doing some selective pruning here and there. We’ll be sure to keep you updated along the way, sharing any big moments for our azalea bonsai friend—including possibly allowing it to flower next season in order to start getting a sense of its flower presentation. For now, it continues to thrive in its new nursery production greenhouse home, awaiting new styling, new movement, and new character branch potential.
